Windows Bulk Enrollment
What is Bulk Enrollment?
When enrolling and setting up a large number of Windows 10/11 devices, a manual enrollment process quickly creates a not inconsiderable amount of work. Windows Bulk Enrollment is an efficient way to set up a large number of Windows 10/11 devices without having to manually complete enrollment on the devices each time through the system settings.
What are the requirements for Bulk Enrollments?
Mass device registration is available from Windows 10/11 for the Professional, Enterprise and Education versions. The Windows Configuration Designer (WCD) tool is required, which can be downloaded from the Microsoft Store. Alternatively, the WCD tool can be downloaded via the Windows Assessment and Deployment Kit (ADK) and is then also available in other languages.
The WCD tool can be used to create provisioning packages, which are needed to run bulk registration. The file format of provisioning packages is a ppkg file. This is a container for a collection of configuration settings.
Since Bulk Enrollment is not done with an Azure AD account or autopilot, these are not needed. Enrollment is ultimately done using a carrier media, such as a USB drive or SD card, that has the generated provisioning package from the WCD tool stored in the root directory. The carrier medium is connected to the corresponding Windows 10/11 devices with which the bulk registration is to be performed.
What are the benefits of Bulk Enrollment via Windows provisioning packages?
The provisioning packages facilitate the configuration of end-user devices without having to create an image. This enables quick and efficient configuration of a device, and the desired settings for enrolling devices in Relution can be easily specified. Using this workflow, target devices can be configured and enrolled in Relution within minutes.
Do settings have to be made in Relution in advance?
For Bulk Enrollment of Windows 10/11 devices, a manual enrollment must be created in Relution.

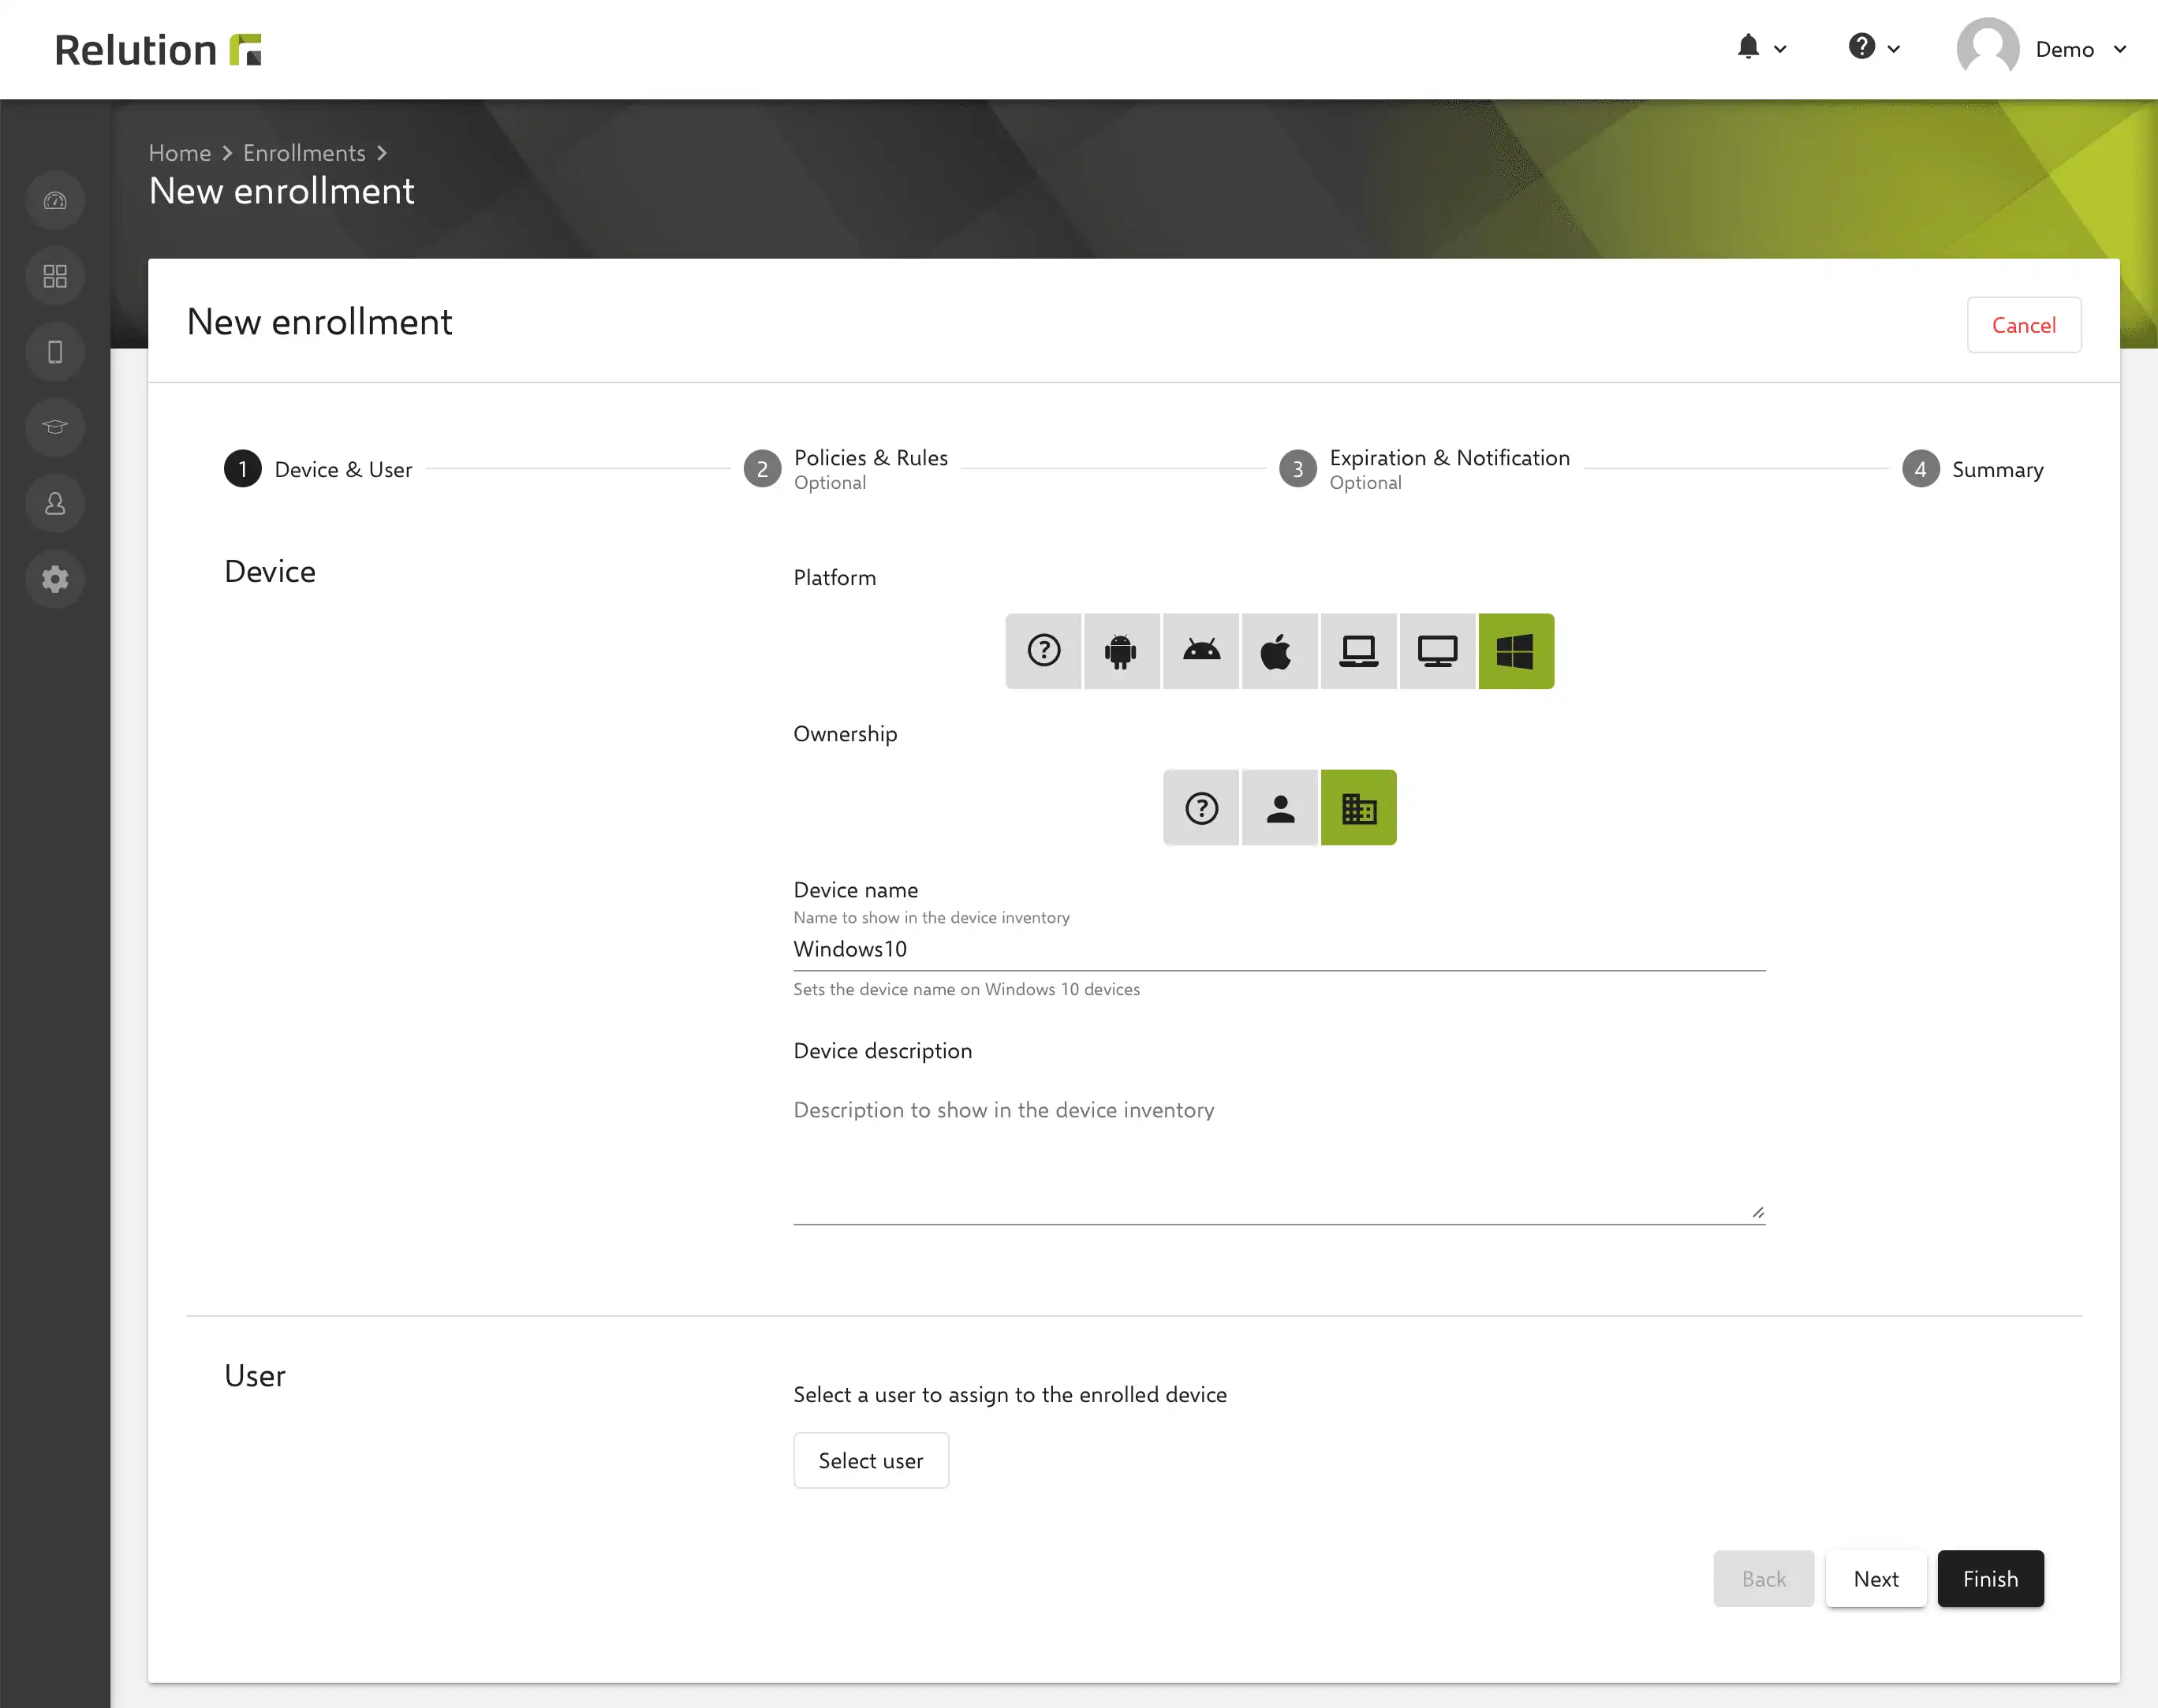
The validity of this enrollment can be freely selected and should be extended into the future as required. It is important that the multiple enrollment is activated in this step in order to be able to use the generated enrollment for several devices.


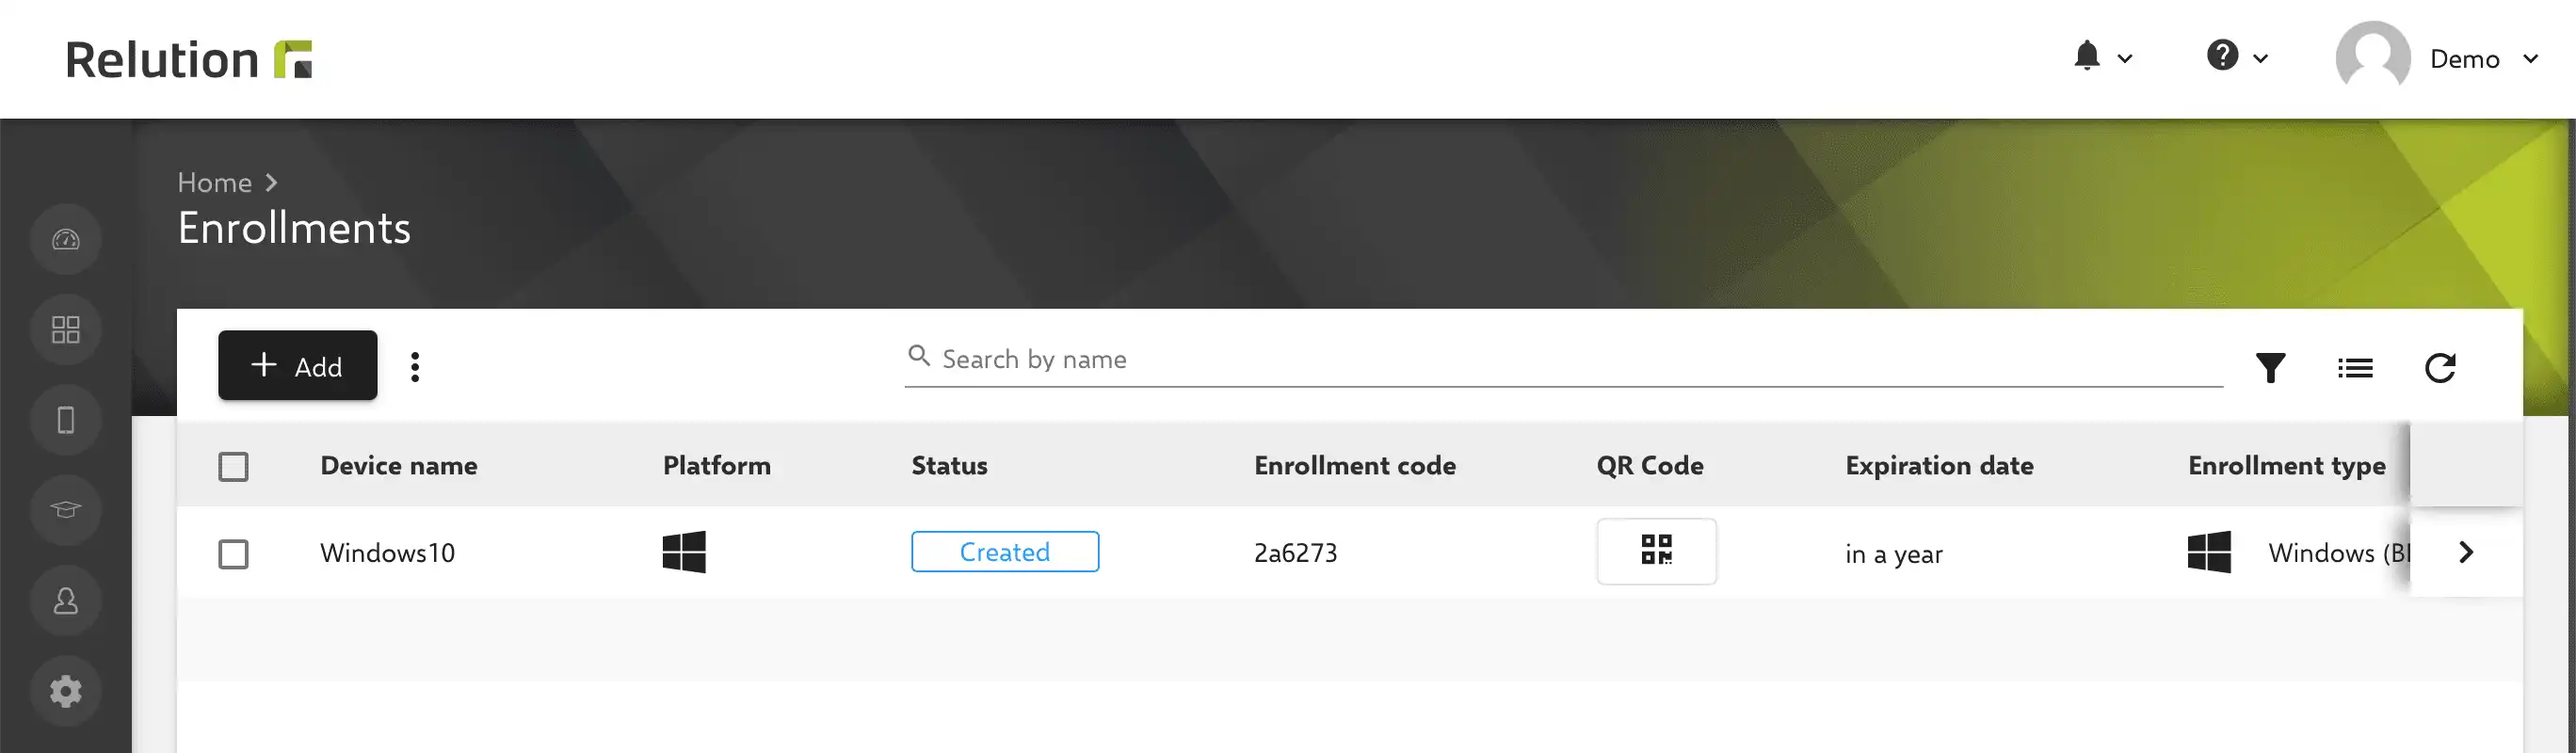
The subsequently generated enrollment code is required in the further process when creating the provisioning package via the WCD tool.

How to create a provisioning package with Windows Configuration Designer?
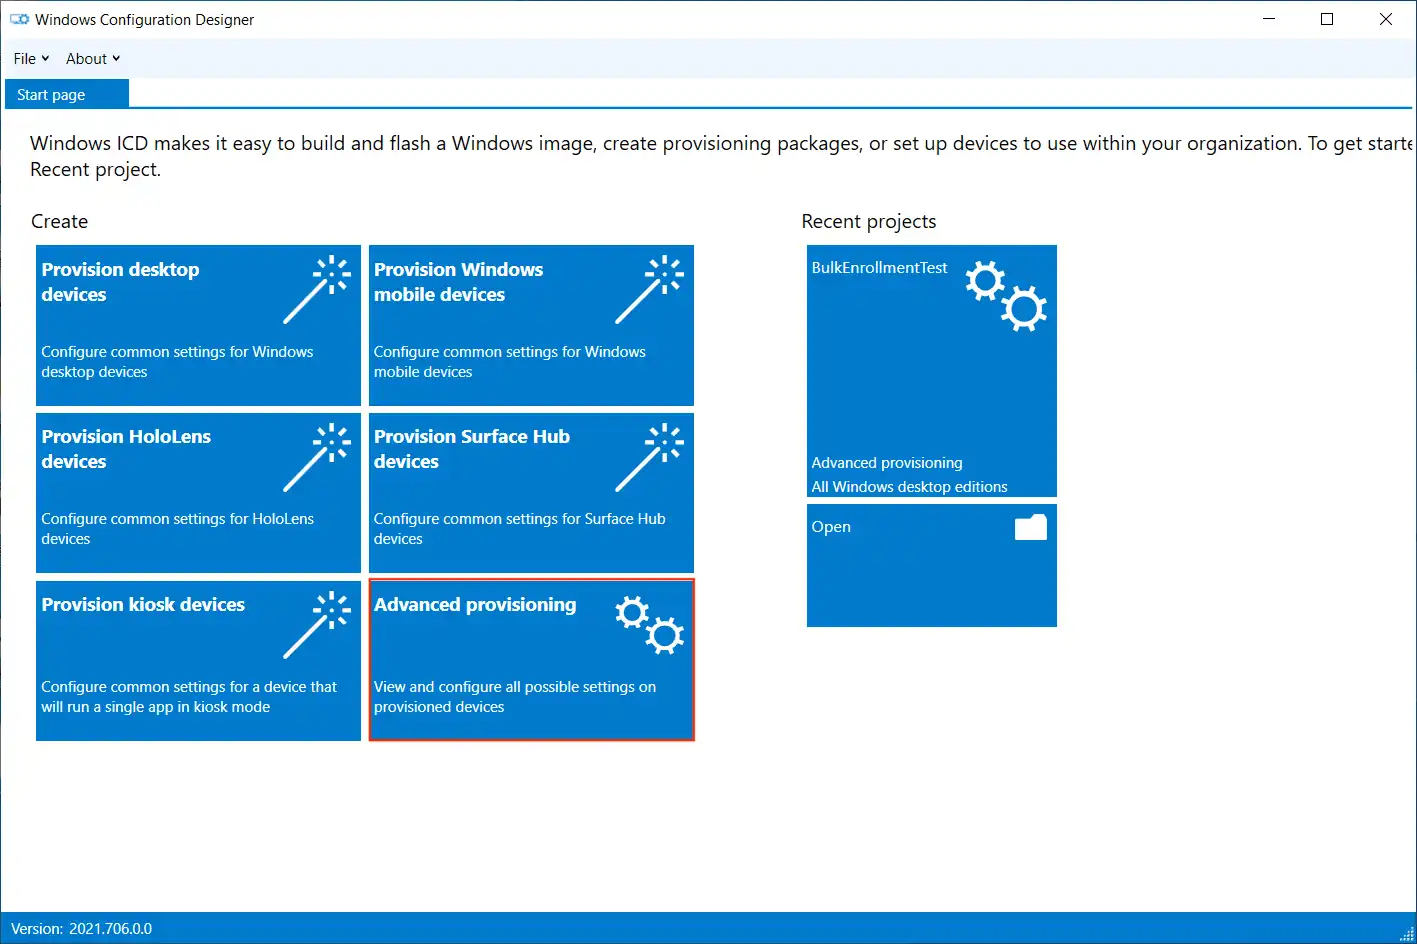
The following steps are performed after downloading and installing the WCD tool to create a provisioning package:
- In the home screen, select the "Use advanced deployment" tile.

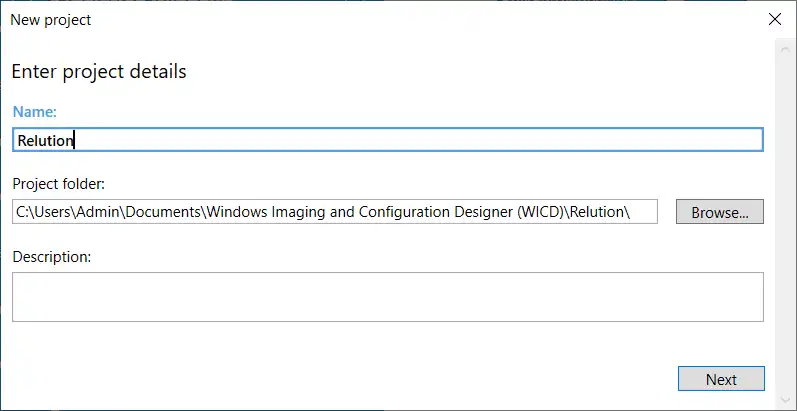
- Specify project name and click “Next“.

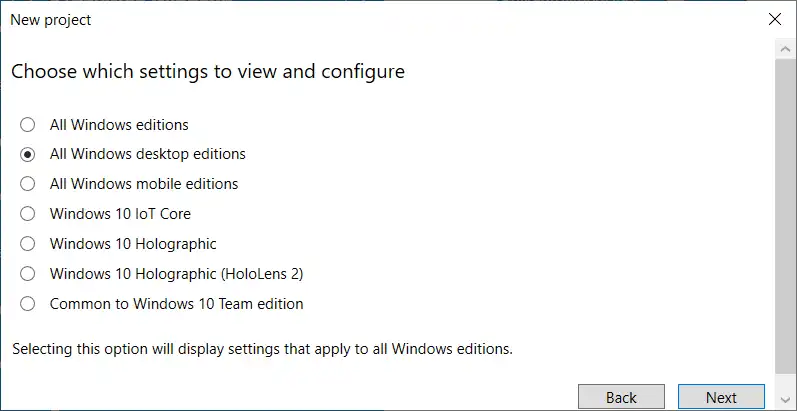
- Select "All Windows Desktop Editions" and click "Next".
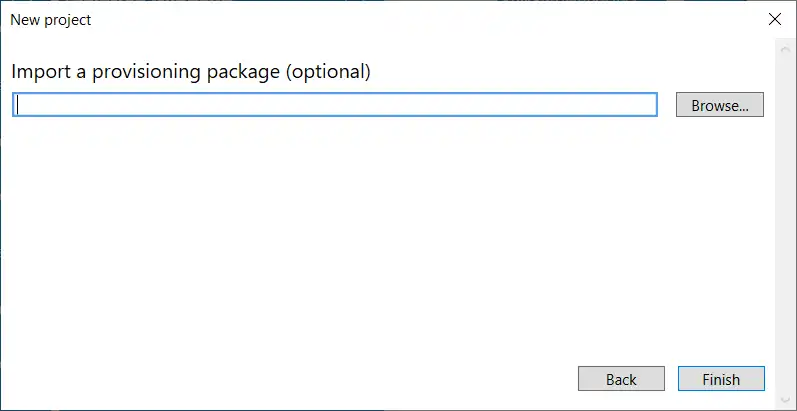
- Import a provisioning package (optional) skip and click "Finish".
-
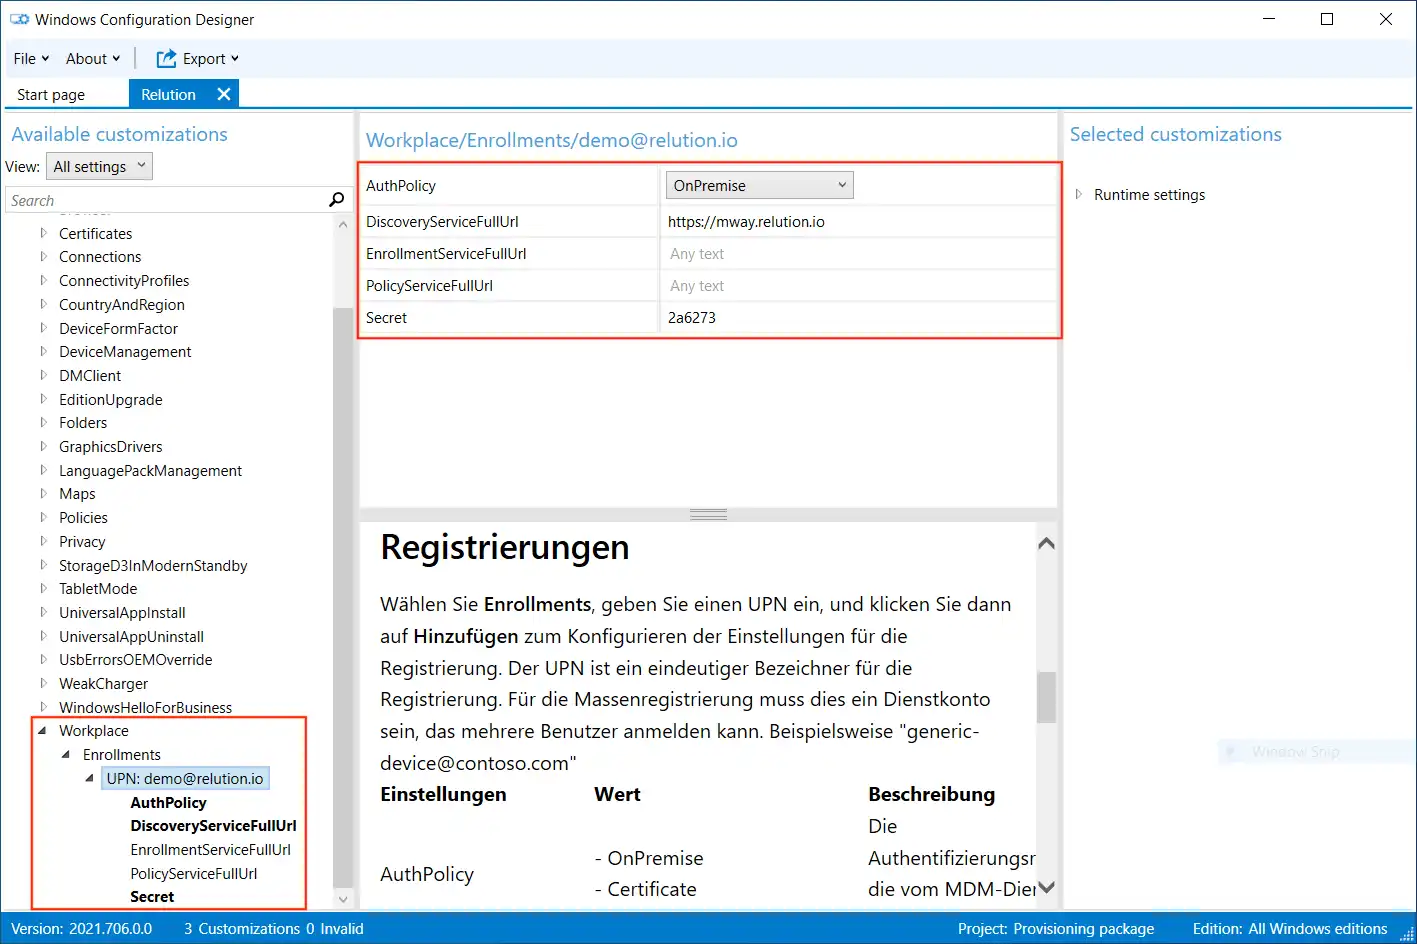
Expand "Runtime Settings" -> "Workplace" in the left navigation area and click "Registrations".
-
Enter and add the e-mail address of a user from the corresponding Relution organization who has Device Manager rights.
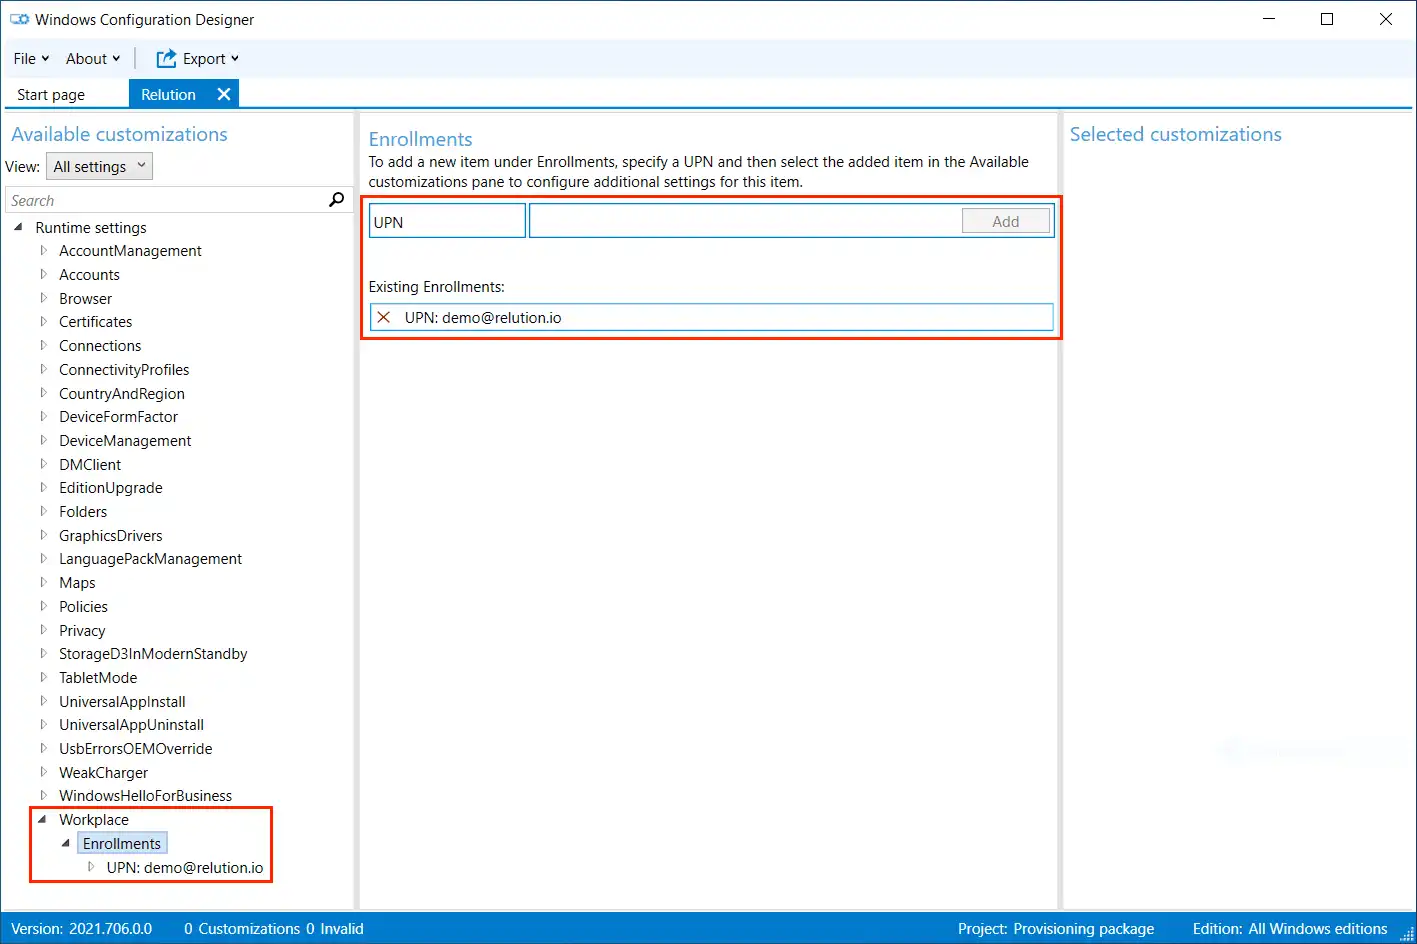
- Expand "UPN" in the left navigation pane and enter the following information for the remaining settings:
- AuthPolicy: “OnPremise” select
- DiscoveryServiceFullUrl: Specifies the corresponding domain of the Relution Server used
- EnrollmentServiceFullUrl: Optional
- PolicyServiceFullUrl: Optional
- Secret: Input of the enrollment code from Relution.
-
After entering all settings, click "File" -> "Save" in the main menu.
-
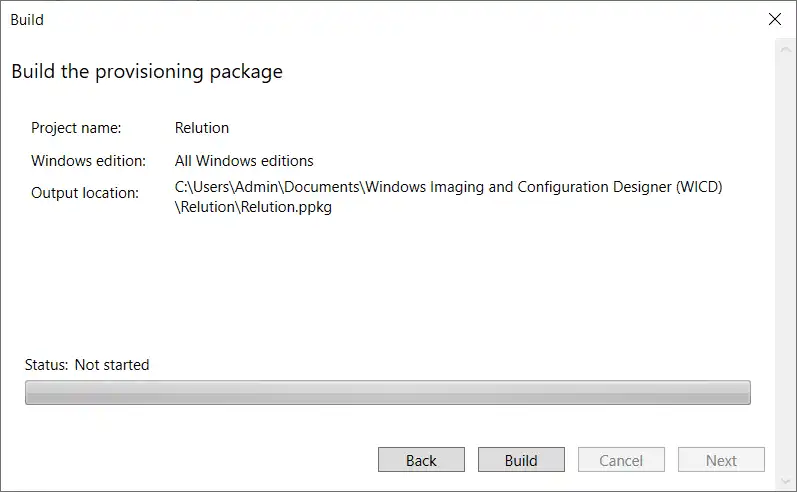
Then click "Export" -> "Provisioning packages" in the main menu.


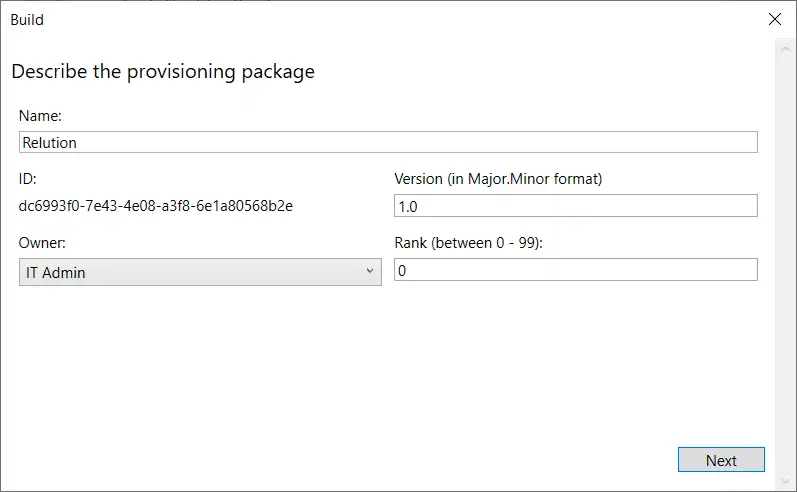
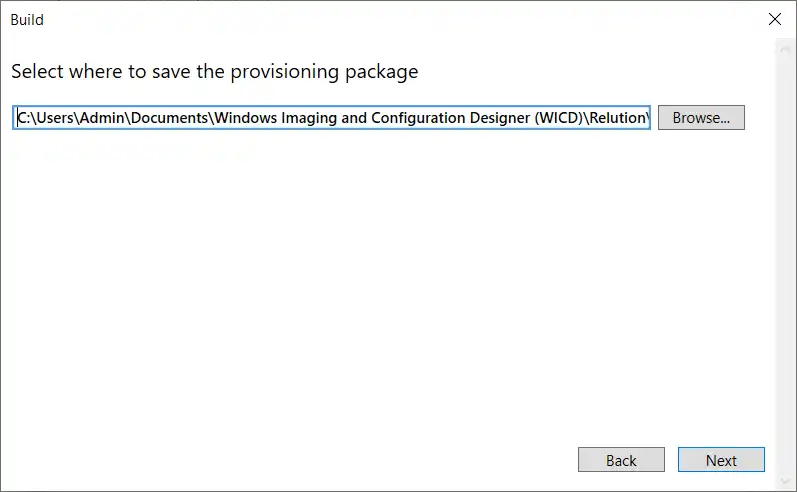
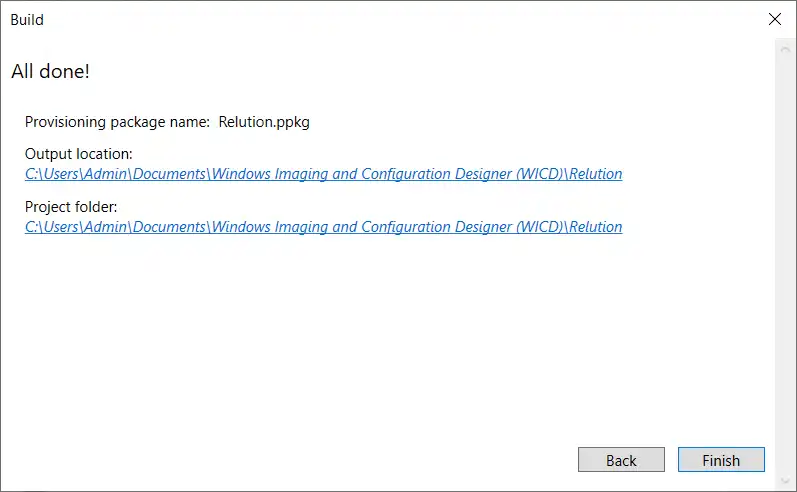
- In the subsequent dialog, specify the values for the package, select the location for the package output and click "Create" at the end.

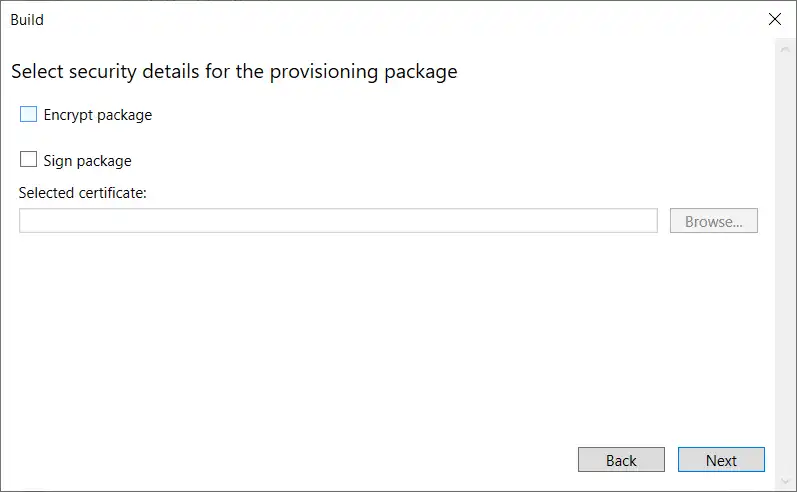
Note: The provisioning profile should be protected (encrypted and/or signed) to provide additional protection for e.g. schools in case a USB stick or SD card is lost. Encryption prevents a potential attacker from accessing the ppkg file.

How to apply a provisioning package on a Windows 10/11 device?
-
Connect the corresponding Windows 10/11 device to the USB drive where the provisioning package is located.
-
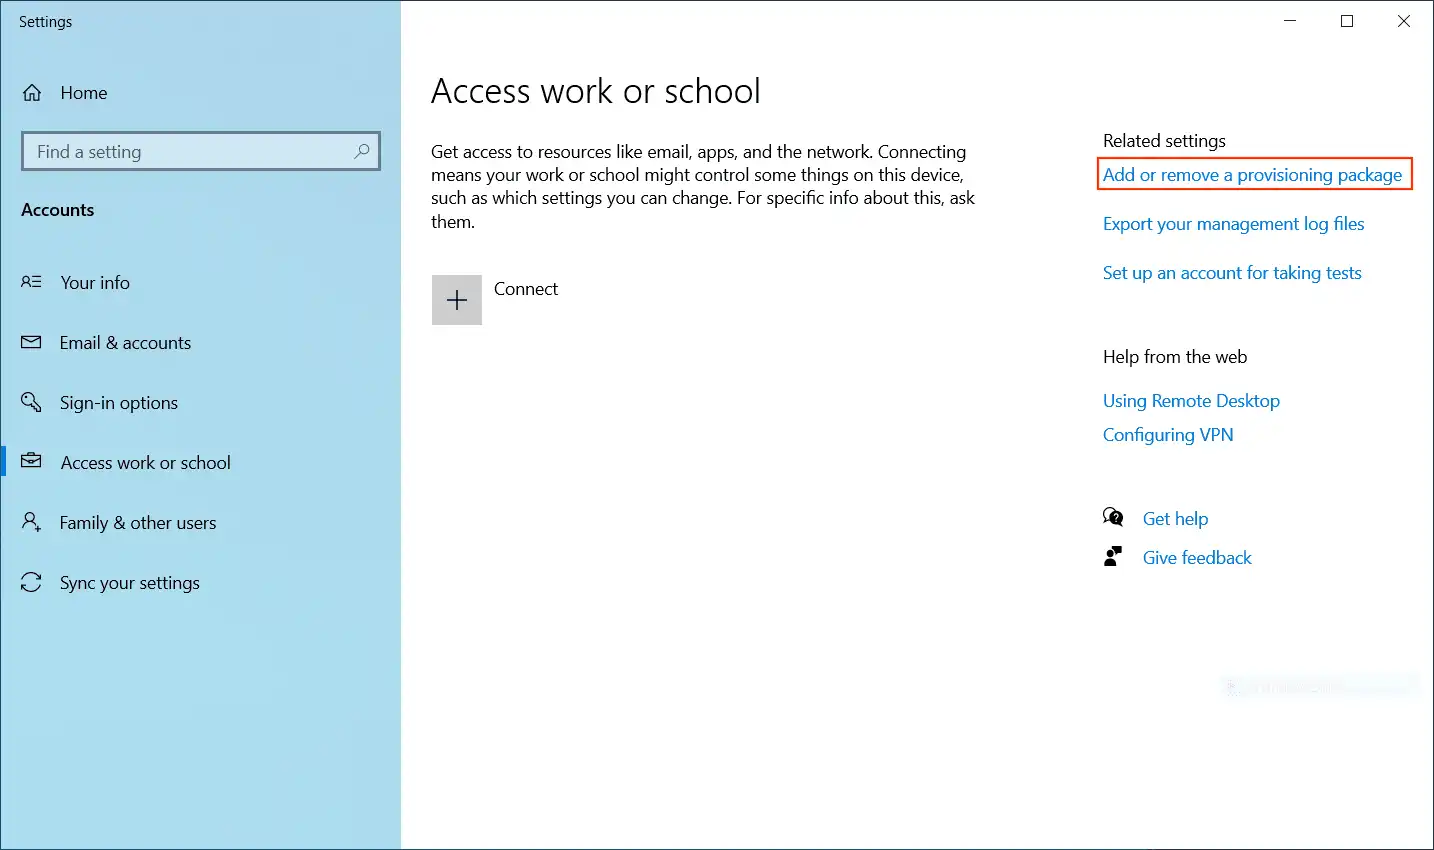
Access "Work or School Account" in "Settings" and click "Add or Remove Provisioning Package".

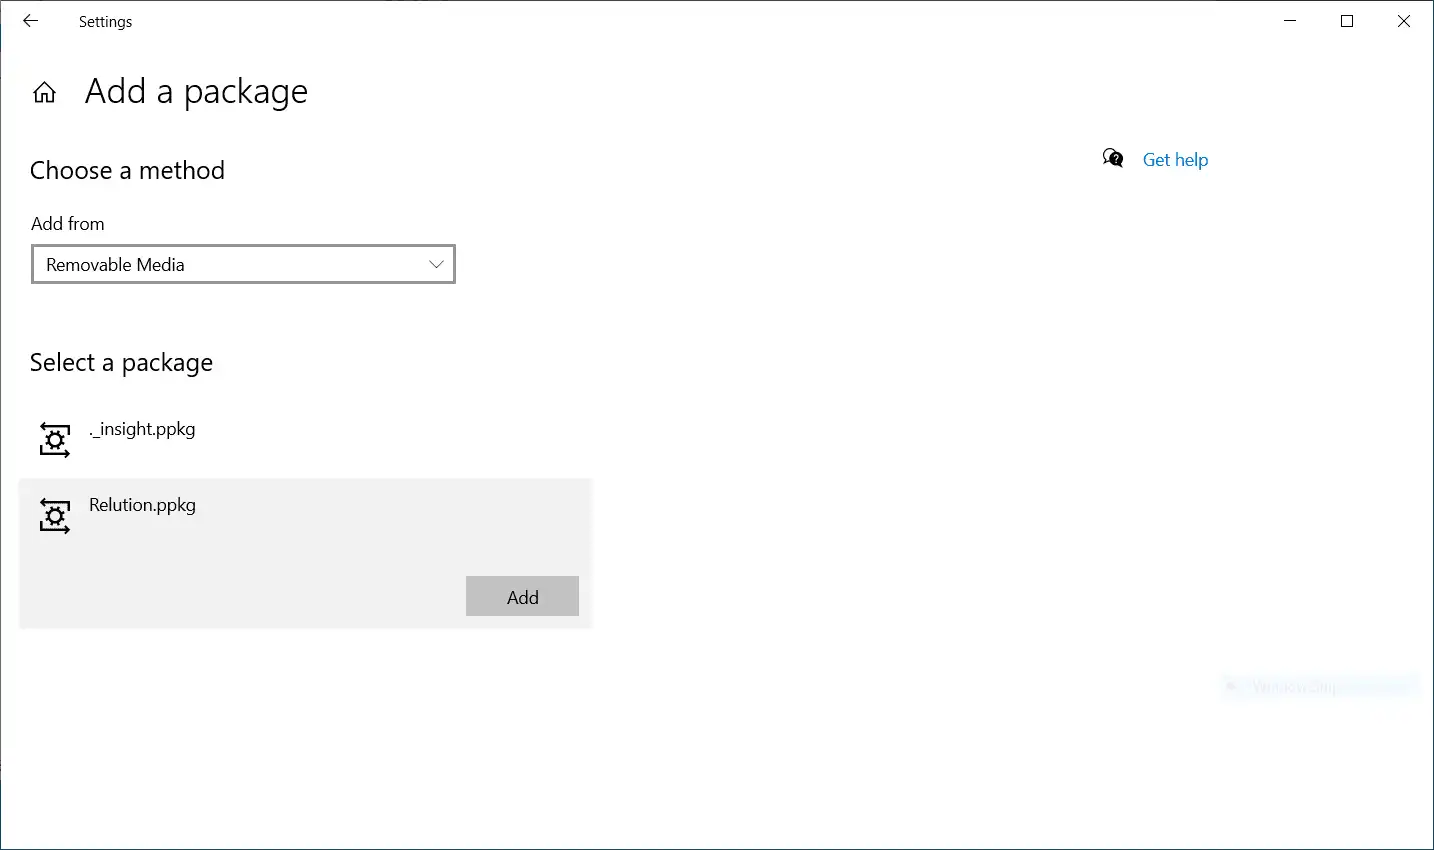
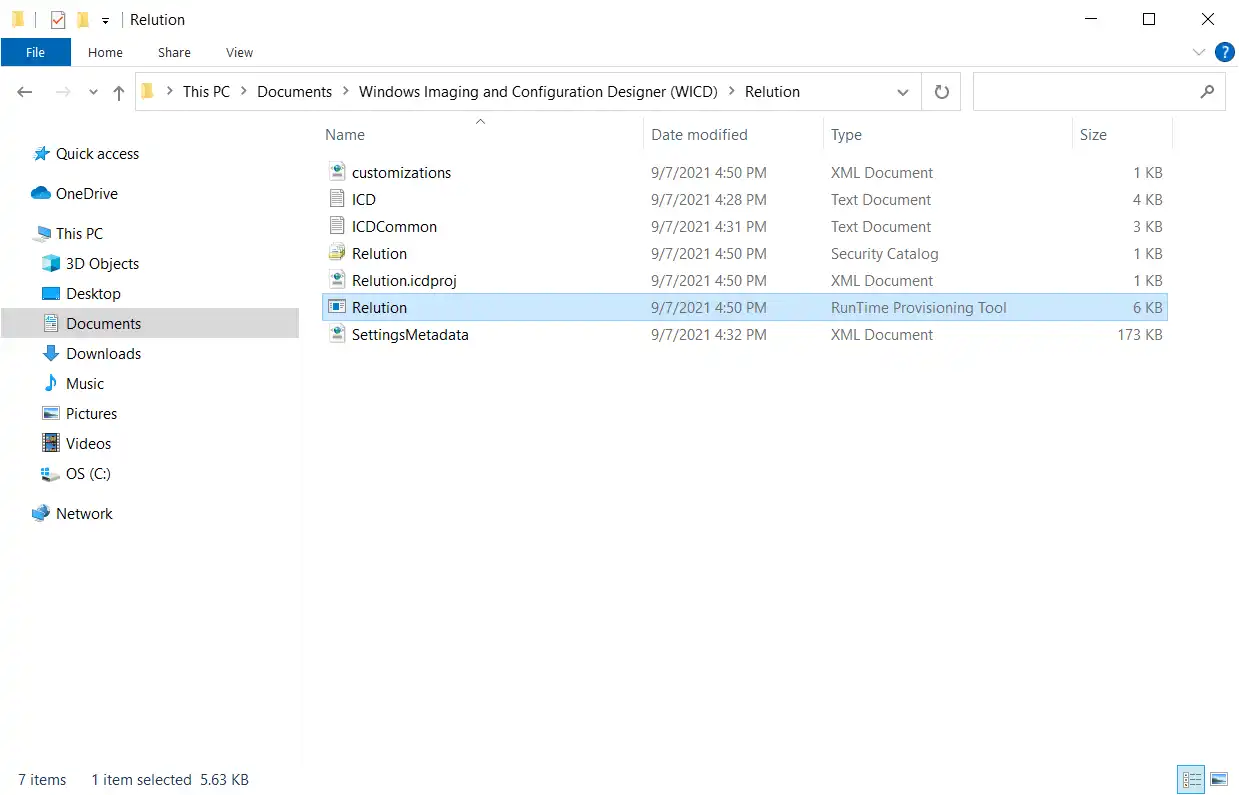
Note: The provisioning package must be placed in the root directory of the USB stick or SD card. Otherwise, the ppkg file will not be found and will not be displayed here.
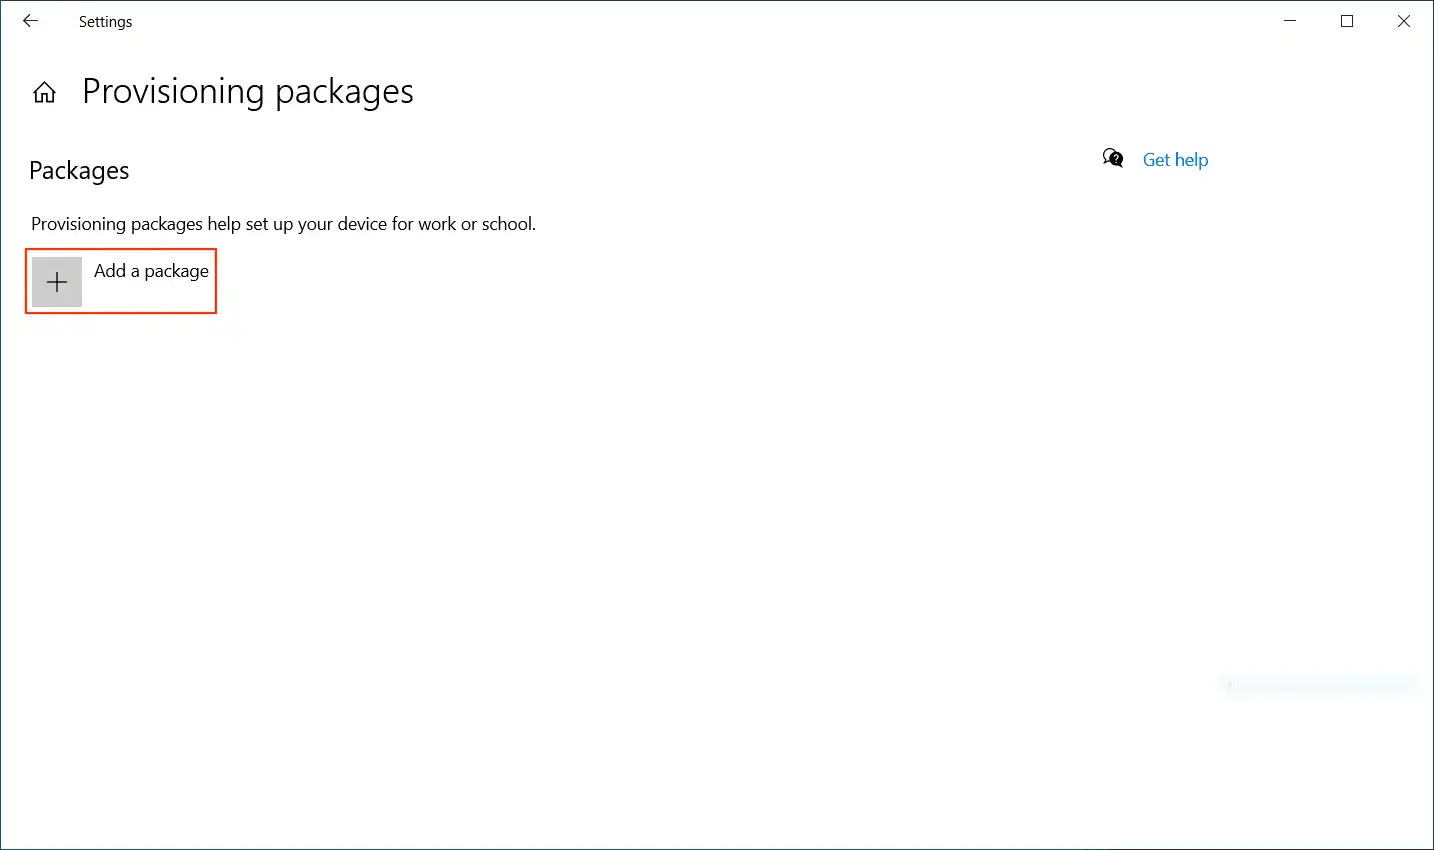
- Click on the "Add a package" icon.
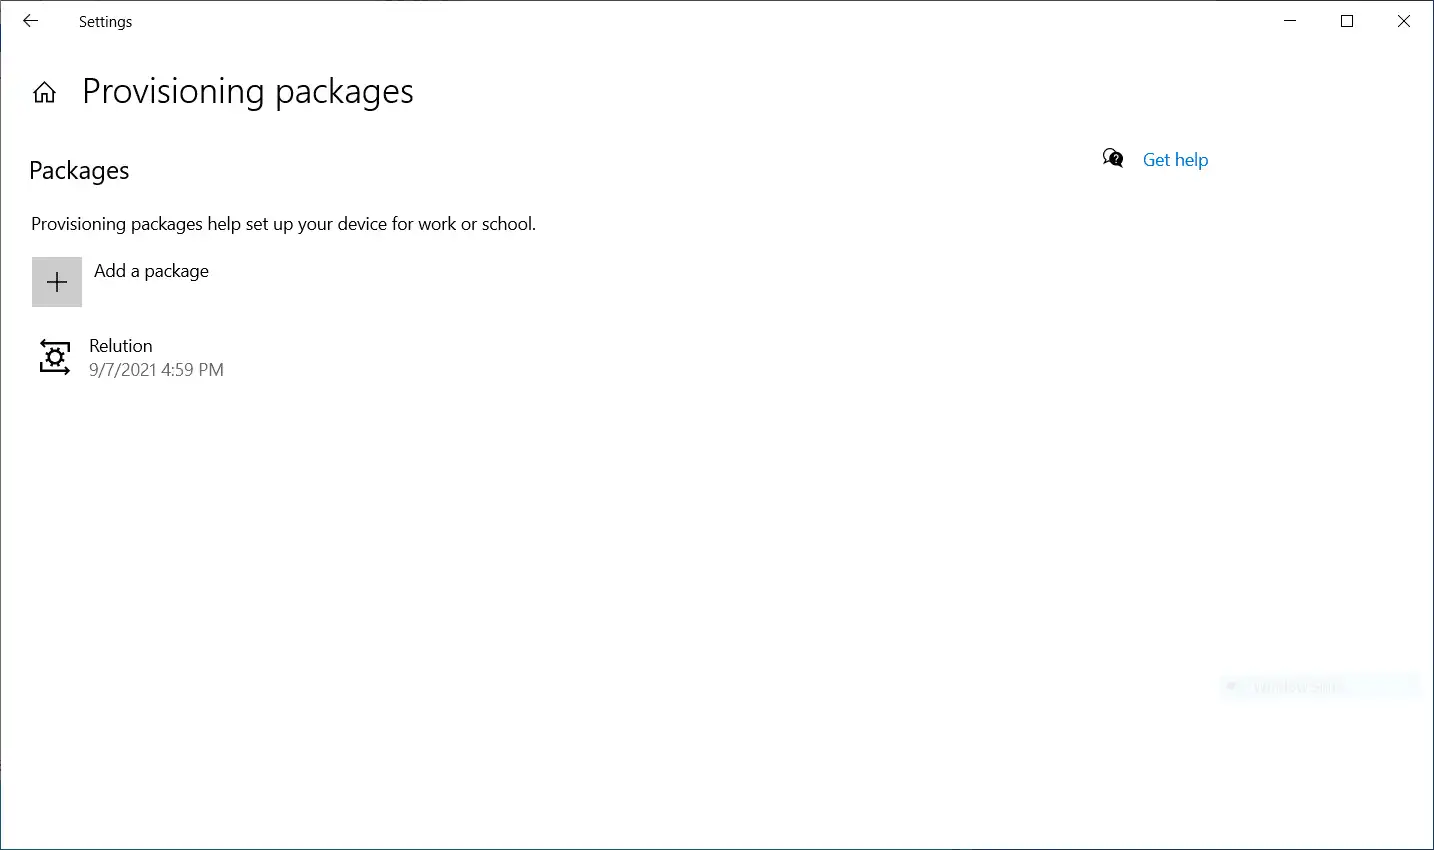
Note: If an error occurs during the installation of the provisioning package, this is indicated below the respective provisioning package and corresponding details can be viewed, e.g. if an incorrect or expired enrollment code was used by Relution.
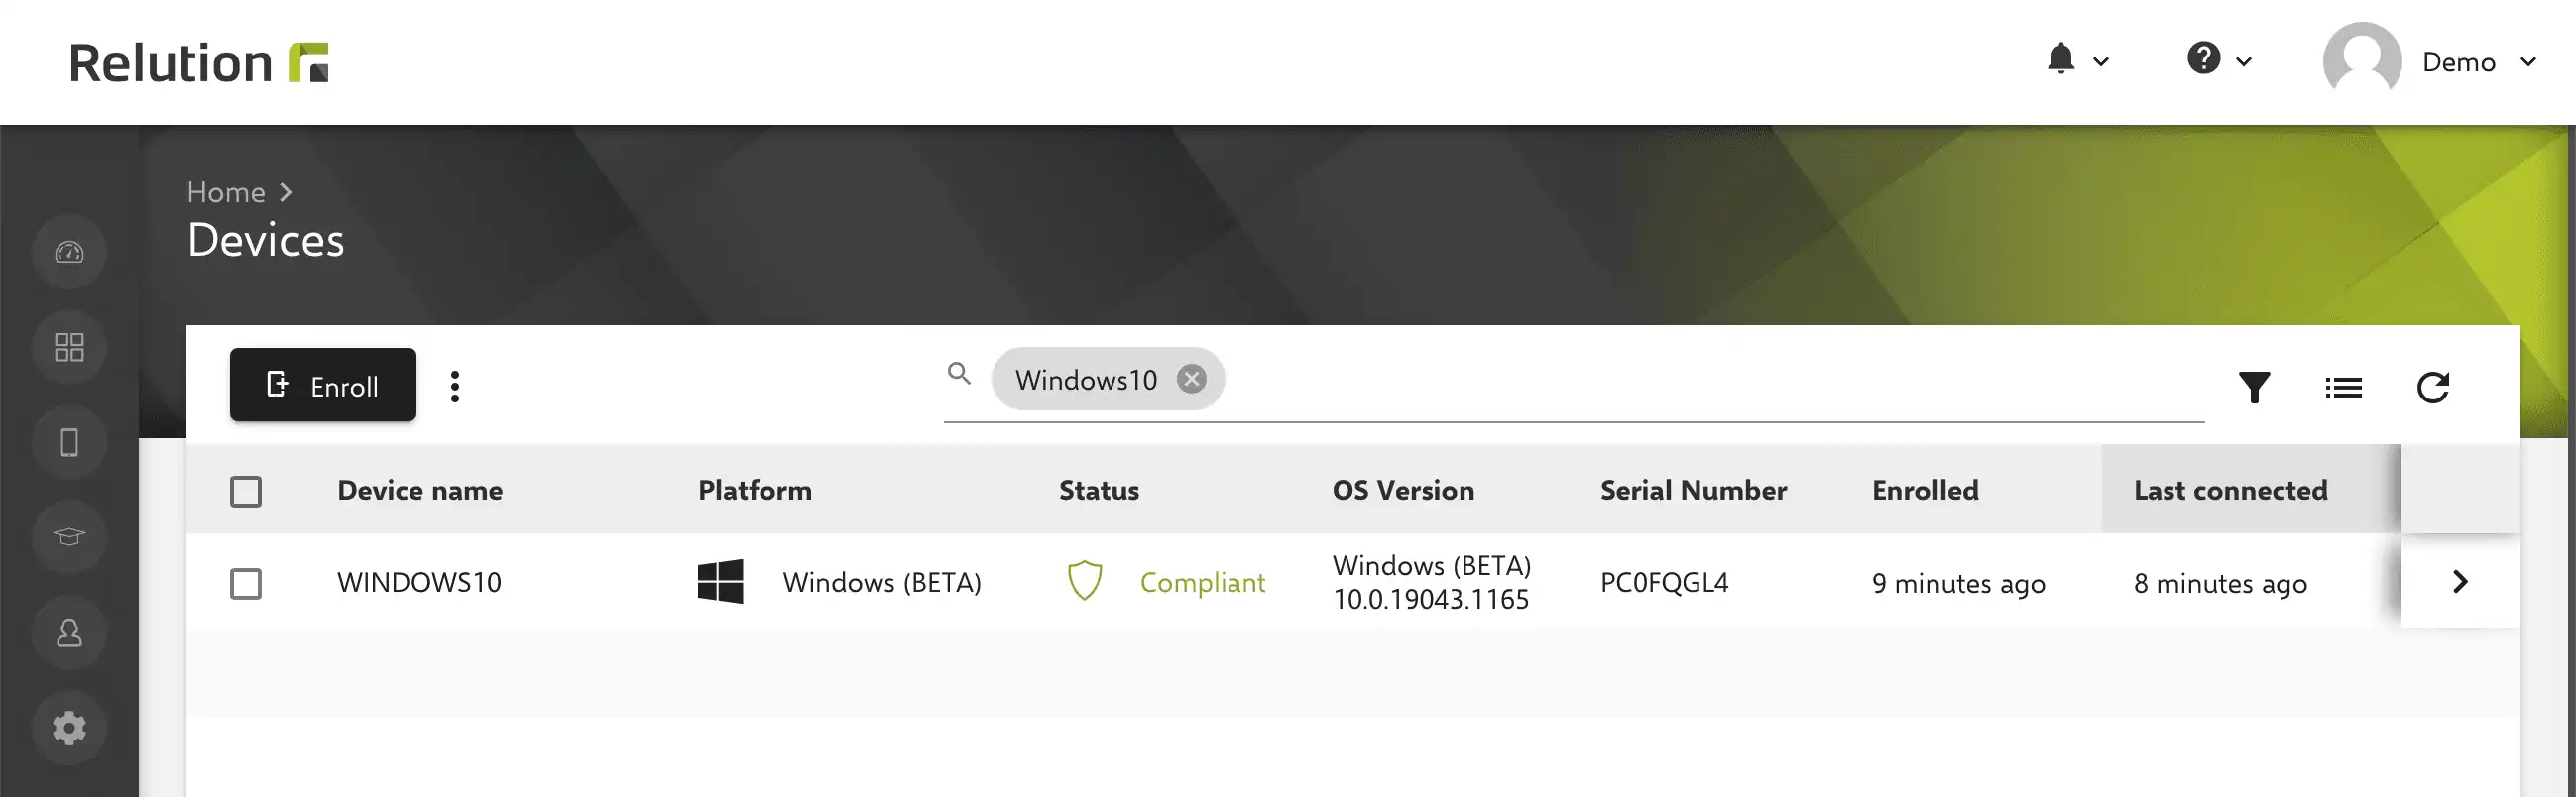
Subsequently, all steps that need to be performed manually in case of a manual enrollment are performed automatically with the information from the provisioning package and no further details need to be entered. After successful enrollment, the device is connected to the Relution server, shows up in the inventory list of the corresponding Relution organization and can be managed there.

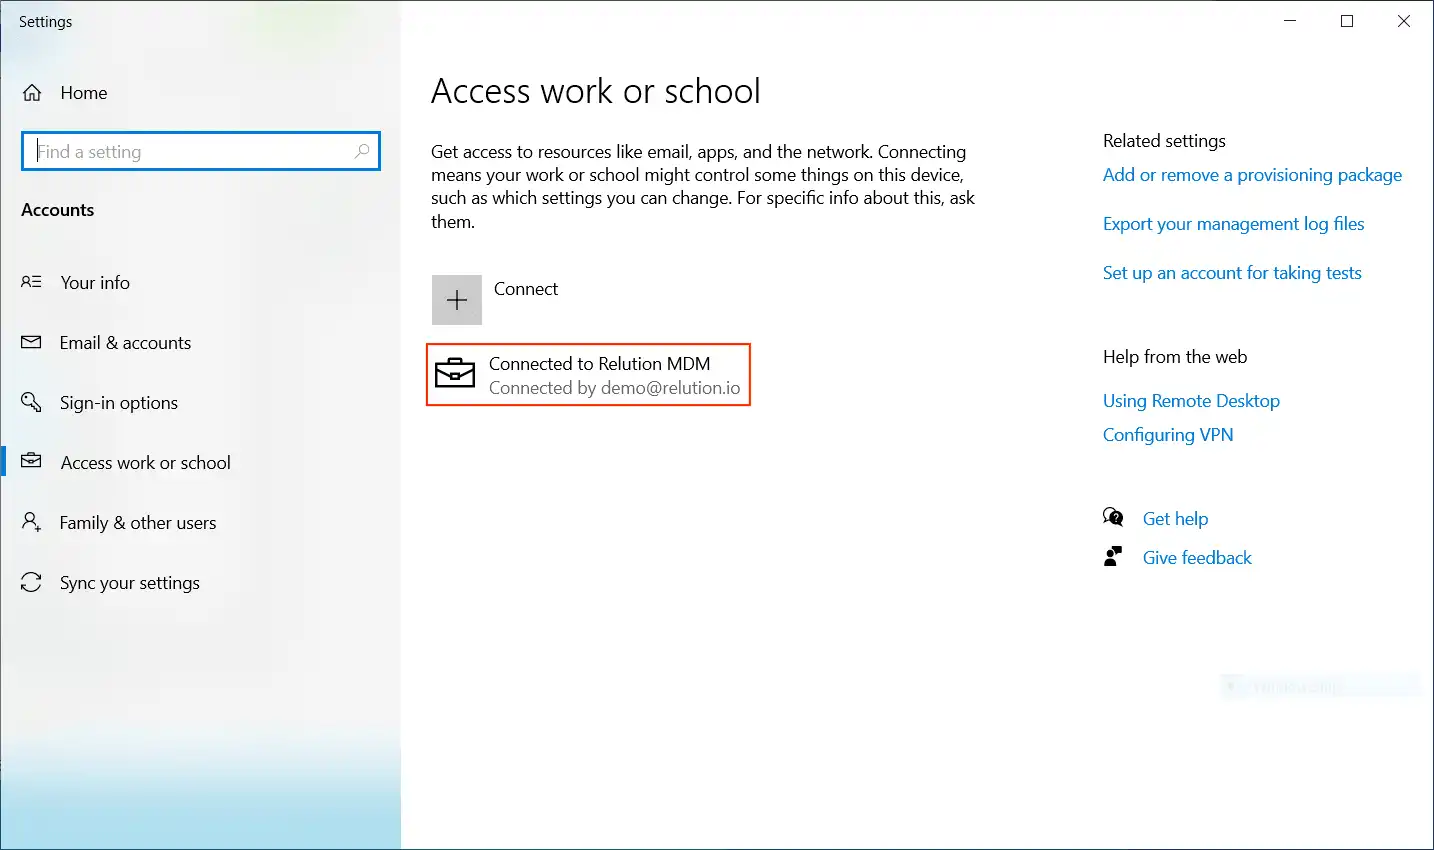
How can I tell that the provisioning package has been applied to the Windows 10/11 device?
Under “Settings” -> “Access work or school account”, the registration with the Relution MDM server is listed.